Last Updated on March 15, 2025 by Muisc Pro Editorial Team
Connecting an audio interface to a mixer enhances your music production by allowing for more inputs and control over your sound. This guide simplifies the process into manageable steps, ensuring that even beginners can set up their equipment without hassle.
Understanding Your Connection Options
Before diving into the connection process, it’s essential to understand the different types of cables and connections available. Most modern setups utilize 1/4″ instrument cables, XLR connections, or USB. Each type has its pros and cons, but they serve the same purpose: to transmit audio signals effectively. USB-C connections, in particular, are gaining popularity due to their compact size and faster data transfer rates.
The Process to Connect Mixer to Audio Interface
Turn on Your PC/Mobile Device and DAW
First, ensure your digital audio workstation (DAW) is installed on your PC or mobile device. Programs for recording software like GarageBand, FL Studio Mobile, or BandLab are excellent starting points. Once installed, open your DAW and activate the monitoring option. Be cautious with the volume levels during setup to prevent speaker damage.
Connecting Your Mixer and Audio Interface
Connect your mixer to the audio interface using the appropriate cables. If you’re unsure, 1/4″ TRS, XLR, or RCA cables are commonly used. The choice depends on your devices’ available ports. After connecting, turn on both devices.
Connect Your Instruments to the Mixer
Plug your instruments, such as guitars or pianos, into the mixer’s inputs. Adjust the mixer’s input gain to about halfway to prevent any potential speaker damage or audio clipping. This step is crucial for maintaining sound quality.
Adjusting the Mixer’s Output Volume
Each mixer input has a volume knob and a switch for mono or stereo signals. Adjust these according to your preference, ensuring the output volume is not too loud to avoid clipping.
Connect the Audio Interface to Your PC/Mobile Device
Using a USB or USB-C cable, connect your audio interface to your PC or mobile device. This connection is vital for digital recording and monitoring.
Set the Audio Interface and Mixer Levels
Now, adjust the gain on both your audio interface and mixer for recording. Start playing your instruments to test the setup. The goal is to avoid the red clipping indicator, aiming for a green signal that indicates your levels are correctly set.
Stereo or Mono: Making the Choice
Decide whether you want a mono or stereo signal from your mixer setup. This decision will affect how you adjust the stereo button and the final sound output.
Key Equipment Needed
Before starting the connection process, it’s crucial to have the right equipment on hand to ensure everything works seamlessly.

Audio Interface
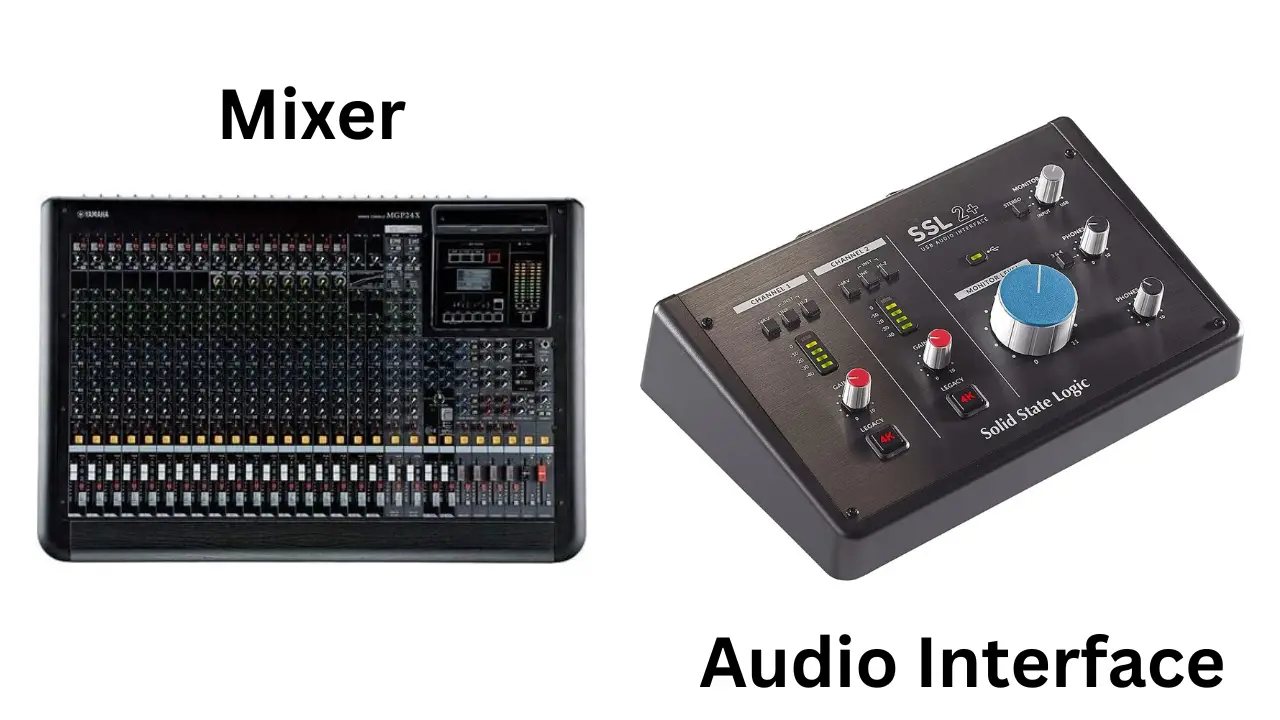
The central hub for your audio production, the audio interface converts analog signals into digital form and vice versa. Modern interfaces may not have RCA connections, but professional-grade models typically offer a variety of ports, including 1/4″ and XLR for versatile connectivity.
Mixer
A mixer allows for multiple audio sources to be combined, processed, and monitored. It’s an essential tool for managing different sound inputs and outputs effectively.
Cables for Connection

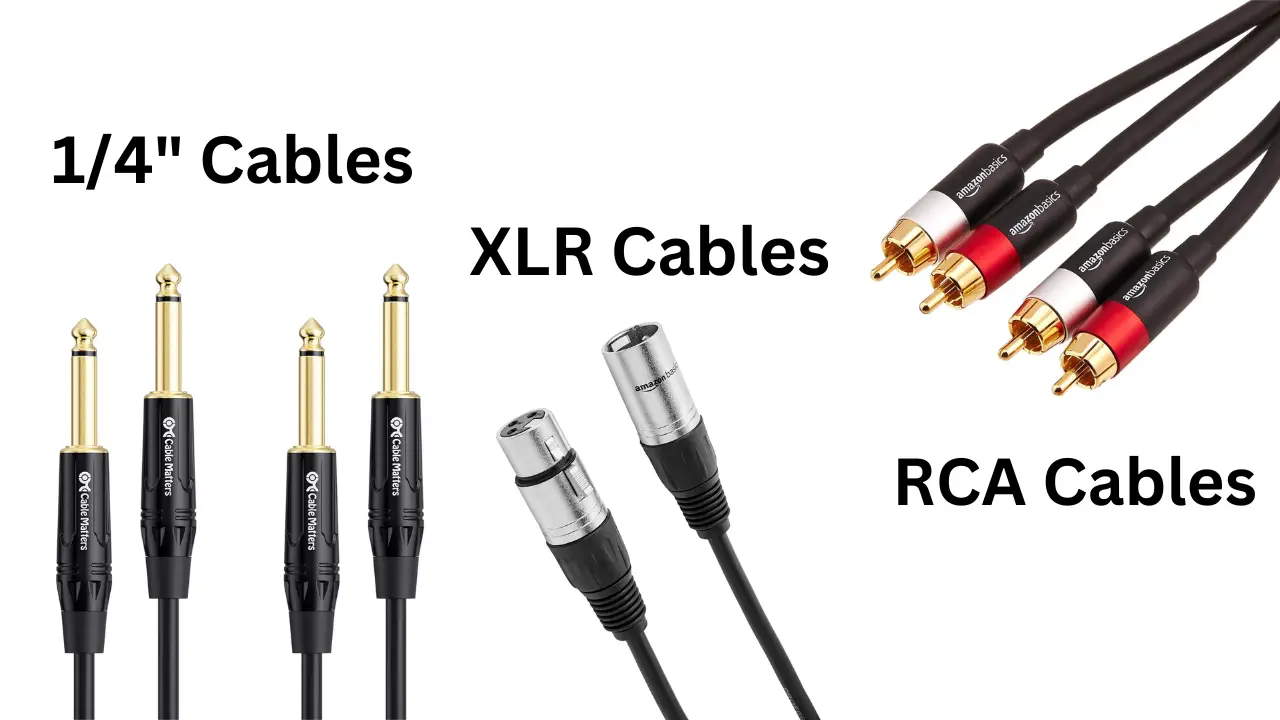
- 1/4″ Instrument Cables: You will need two balanced and two unbalanced cables. Balanced cables are recommended for connecting the mixer to the audio interface to minimize noise and interference, especially for hot signals like microphones.
- XLR Cables: These balanced cables are excellent for reducing noise and are ideal for long cable runs with minimal interference.
- RCA Cables: While not as commonly used in professional setups, RCA cables can be an option for connecting certain audio interfaces and mixers.
Computer or Mobile Device
A computer or mobile device with a Digital Audio Workstation (DAW) is essential for recording, editing, and playing back digital audio.
When to Use Different Cables
XLR vs Balanced 1/4″ TRS
Understanding when to use XLR versus balanced 1/4″ TRS cables is crucial. XLR cables are always balanced and ideal for microphones. Balanced 1/4″ TRS cables, identifiable by an additional ring on the connector, are suitable for instruments like guitars when connected to a mixer.
Tips for a Successful Connection h2
Opt for Balanced 1/4″ Cables to Minimize Noise
To reduce noise and interference, it’s beneficial to use balanced 1/4″ cables, especially when connecting from the audio mixer to the audio interface. This ensures a cleaner signal, particularly for instruments connected to the mixer.
Consider Using a Direct Box
For high-impedance instruments like electric guitars, a Direct Box (DI Box) can help match the instrument’s signal with the mixer’s input, preserving volume, tone, and clarity. A DI Box acts as a bridge between your instrument and the mixer, optimizing the signal for better sound quality.
Conclusion
In conclusion, connecting a mixer to an audio interface is a pivotal step in creating a versatile and high-quality audio production setup. By carefully selecting the right equipment, including the audio interface, mixer, and appropriate cables, and following the recommended connection tips, you can significantly enhance your sound management capabilities. Whether you record music in a home studio or performing live, understanding how to effectively bridge these two essential components will lead to a more successful and satisfying audio production experience. Remember, the key to a flawless setup lies in the details of the connection, ensuring minimal noise and optimal sound quality for your projects.

